| |||||||||
| |||||||||
Follow US!!! SVG Cutting Files | Tutorials
Magic Color Reveal Cards Putting these together is a lot simpler than you think! This serves as a BASIC guide to the ASSEMBLY and not decorating of your item! 1- Cut out ALL the pieces in your file 2-Lay your base piece flat and adhere your clear acetate behind the window opening. 3- stamp your image to the clear acetate and then ALSO to another piece (which you will color with your stamps). 4- Place (and cut down if necessary) your colored image and fold the base shut to make sure your CLEAR acetate stamp is lined up PERFECTLY to your colored image on the inside. When you line these 2 parts up, Tape/Glue your colored image piece to the inside of your base. This will be covered with the sliding mechanism to make the MAGIC appear. 4- Lay your "t" shaped sliding mechanism on top of the base piece to use as a GUIDE as to where to place your adhesive (refer to below photo). The T shaped piece needs to slide in and out, so you want to make sure your adhesive does not trap any parts of it. Only add adhesive to the 3 sides as shown
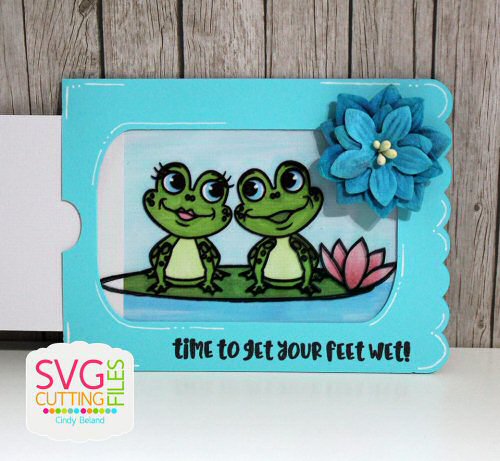
5- Fold up the base in half with the T shape slider INSIDE 6- Pull your sliding mechanism to ensure it glides well. Tie ribbon or twine to the hole to allow it to easily be manipulated. here are some samples of one completed!
| ||||||||
|
©2012 - 2024 SVG Cutting Files -SVG Files For Silhouette Cameo, Cricut, Sure Cuts A Lot, Free SVG Files, SVG Files, Make The Cut, Sure Cuts A Lot. All rights reserved.
**Due to the nature of our product we do NOT OFFER refunds of any kind. **
| |||||||||